
UVReactor is a highly multi-threaded, GPU accelerated UV editor for 3ds max. The main point is that UVReactor doesn’t need a modifier to edit your model UVs.
WARNING – The plug-in is currently in BETA state – WARNING
To get in touch with me and report bugs, please join to my DISCORD channel
Why UV Reactor?
GPU Accelerated Viewport
The GPU Accelerated viewport is using OpenGL to get the fastest available performance out of it. The system is using simple shaders which you will be able to customize in the future so you can even create fancy viewport visuals.
State Of The Art UV Editing
You believe it or not, the system is much (I told you) faster than all the existing solutions. You can Edit your UVs with millions of polygons with ease. It’s even 5x times faster than Blender’s solution, while it’s directly syncing the selection to the max viewport on the fly. This part of the system is even faster than all the available solutions.
The Editor is using a heavily Multi-Threaded code to gather the necessary inherited UV data and metadata from the Poly Object to visualize the UV. (The data collecting algorithms are running on 6 threads simultaneously)
Visualizing Modifier Affected UVs
The system by its nature can visualize the UVs of any objects. This means that you can see the result of the UVW XForm or UVW Map modifier or even how a TurboSmooth or a Chamfer modifier is affecting your UVs. Nothing was able to this previously until now.
GPU Accelerated / Multi-Threaded Packing
The GPU acceleration is not only for the viewport but also the packing algorithm is using the GPU to generate the necessary data. The system also using Multi-Threading to pack each cluster into the appropriate position.
The algorithm can also pack UV Clusters into existing UVs without touching the already packed Clusters. (In the future packing to existing textures will be available using textures as masks.)
Graphite Modeling Tools For Your UVs
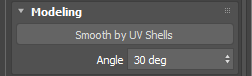
Previously the bult-in UV straightening algorithm was broken. UVReactor offers a lazy solution which means it can detect all the UV clusters that can be straightened and it will properly unwraps them.
Flattening
The used flattening algorithm is using a modified ARAP algorithm which is very fast. Even on 800.000 triangles, after creating the initial data, a simple iteration takes only 2-2,5 seconds. (5-6 iterations are normally enough to properly flatten any objects to a highly non-distorted state)
Of course on smaller clusters the system is even faster even if there are hundres or thousands of clusters.
Note thatbthe current algorithm is still running a single thread. Just imagine how fast it could be on Multiple Threads. ;)
Qt UI – Blending Into The 3dsmax User Interface. Just as it would come with it.
The UI is seamslessly integrated into the max User Interface, which makes it unnoticeable by anyone. Also you don’t have to relearn how to use it.
BETA (THE CORE)
And here comes the most important part, now as you know what I was working on the past 3 and a half years, I would like to ask for your help. Since testing out such a complex system like UVReactor, it takes a lot of effort I need a whole bunch of Beta Testers. YOU!
The point? You can use UVReactor in the forthcoming months FOR FREE and all I need from you is your bug reports. With models or problematic parts if possible.
For reporting your bugs I’ll set up a bug reporting website and Discord Channel where you can share your files and informations about the bugs you have found.
Don’t forget that these are just really the CORE features. This part must be rock stable before moving on with other cool stuffs, like:
- UDIM Support
- Rotating Calipers
- Non-Intersecting UVs
- Automatic Mat ID Setup (based on UDIMS)
- Multi-Texture Visualization
- Heurestic Search For UV Packer
- Angle Based Loop Selection
- Selection Shapes
- Texture Locked UV Packing
- Automatic Texture Atlas Packing
- UDIM Packing
- Copy / Paste UVs
Of course there are much more things. Follow my Discord Channel where you can learn more about the road map and the feature requests.
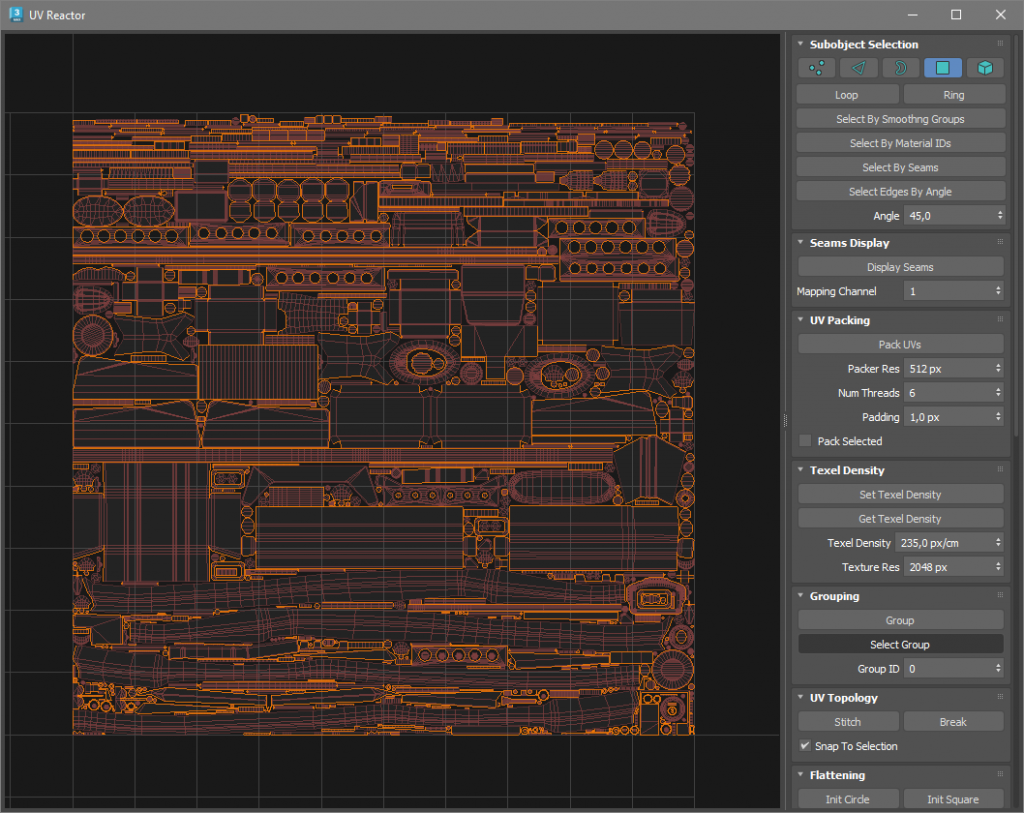
Current Features
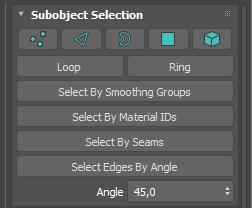
Selection is the most basic feature of any 3D software. UVReactor is not different either. It offers you a bunch of ways how you can select your UV Seams.
It can select edge based on Smoothing Group borders, Material IDs. Even it can select you seams. Or if it’s better it has an angle based edge selection as well, and of course the loop and the ring.
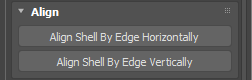
A very basic thing in a very simple way. Just select the edges you want to align and let UVReactor do the rest for you.
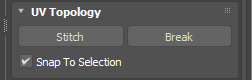
Stitch and Break. The very basics of UV Editing. It not really different from other solutions, except that this one is lightning fast.
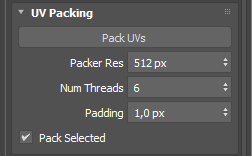
A simple a super efficient UV Packing system using your GPU and CPUs as well. It can pack your selected shells aroung non-selected shells if you want.
Also in the future it will support more methods and heurestic search as well. (and many other cool things)
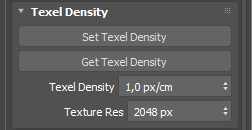
Why this one has not been the part of the basics I don’t really know. One of the simplest thing and so important, especially if you are working in the game development. Just pick and set your desired Texel Density and that’s it.
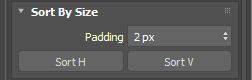
A simple but useful sort. Lay out your shells horizontally or vertically based on their size. Add a padding if you want.
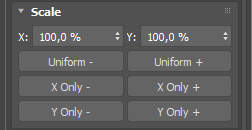
Scale in any way you want. Horizontally or vertically or uniformly. It doesn’t matter.

Discreete rotation. Simple as that.
This was a request, but think about how useful it is.
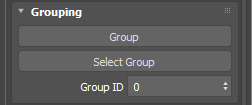
Grouping? Oh yes. There are plenty of untapped potentials in this. Needs a bit more love and it will be the best.
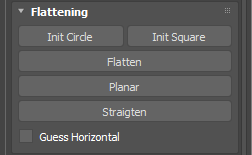
UV Editor is nothing without a proper flattening algorithm. This one is fast and efficient. No more triangle flips. The math itself doesn’t let it happening.
Also the straighten algorithm is smart enough to touch only those shells that can be straghtened properly.
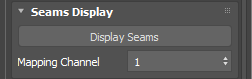
Of course… Editing multiple channels is as basic as UV Editing itself. And it displays seams as well. (yes in the max viewport.

Load the backdrop image and you can start editing your game UV. Just position every shell into the proper position in your UV Atlas or Trim Sheet. It supports non-square textures as well.